how-to
How I set up notification badges in Figma to expand with more digits
One of my favourite, most satisfying ways to use auto-layout for tiny things
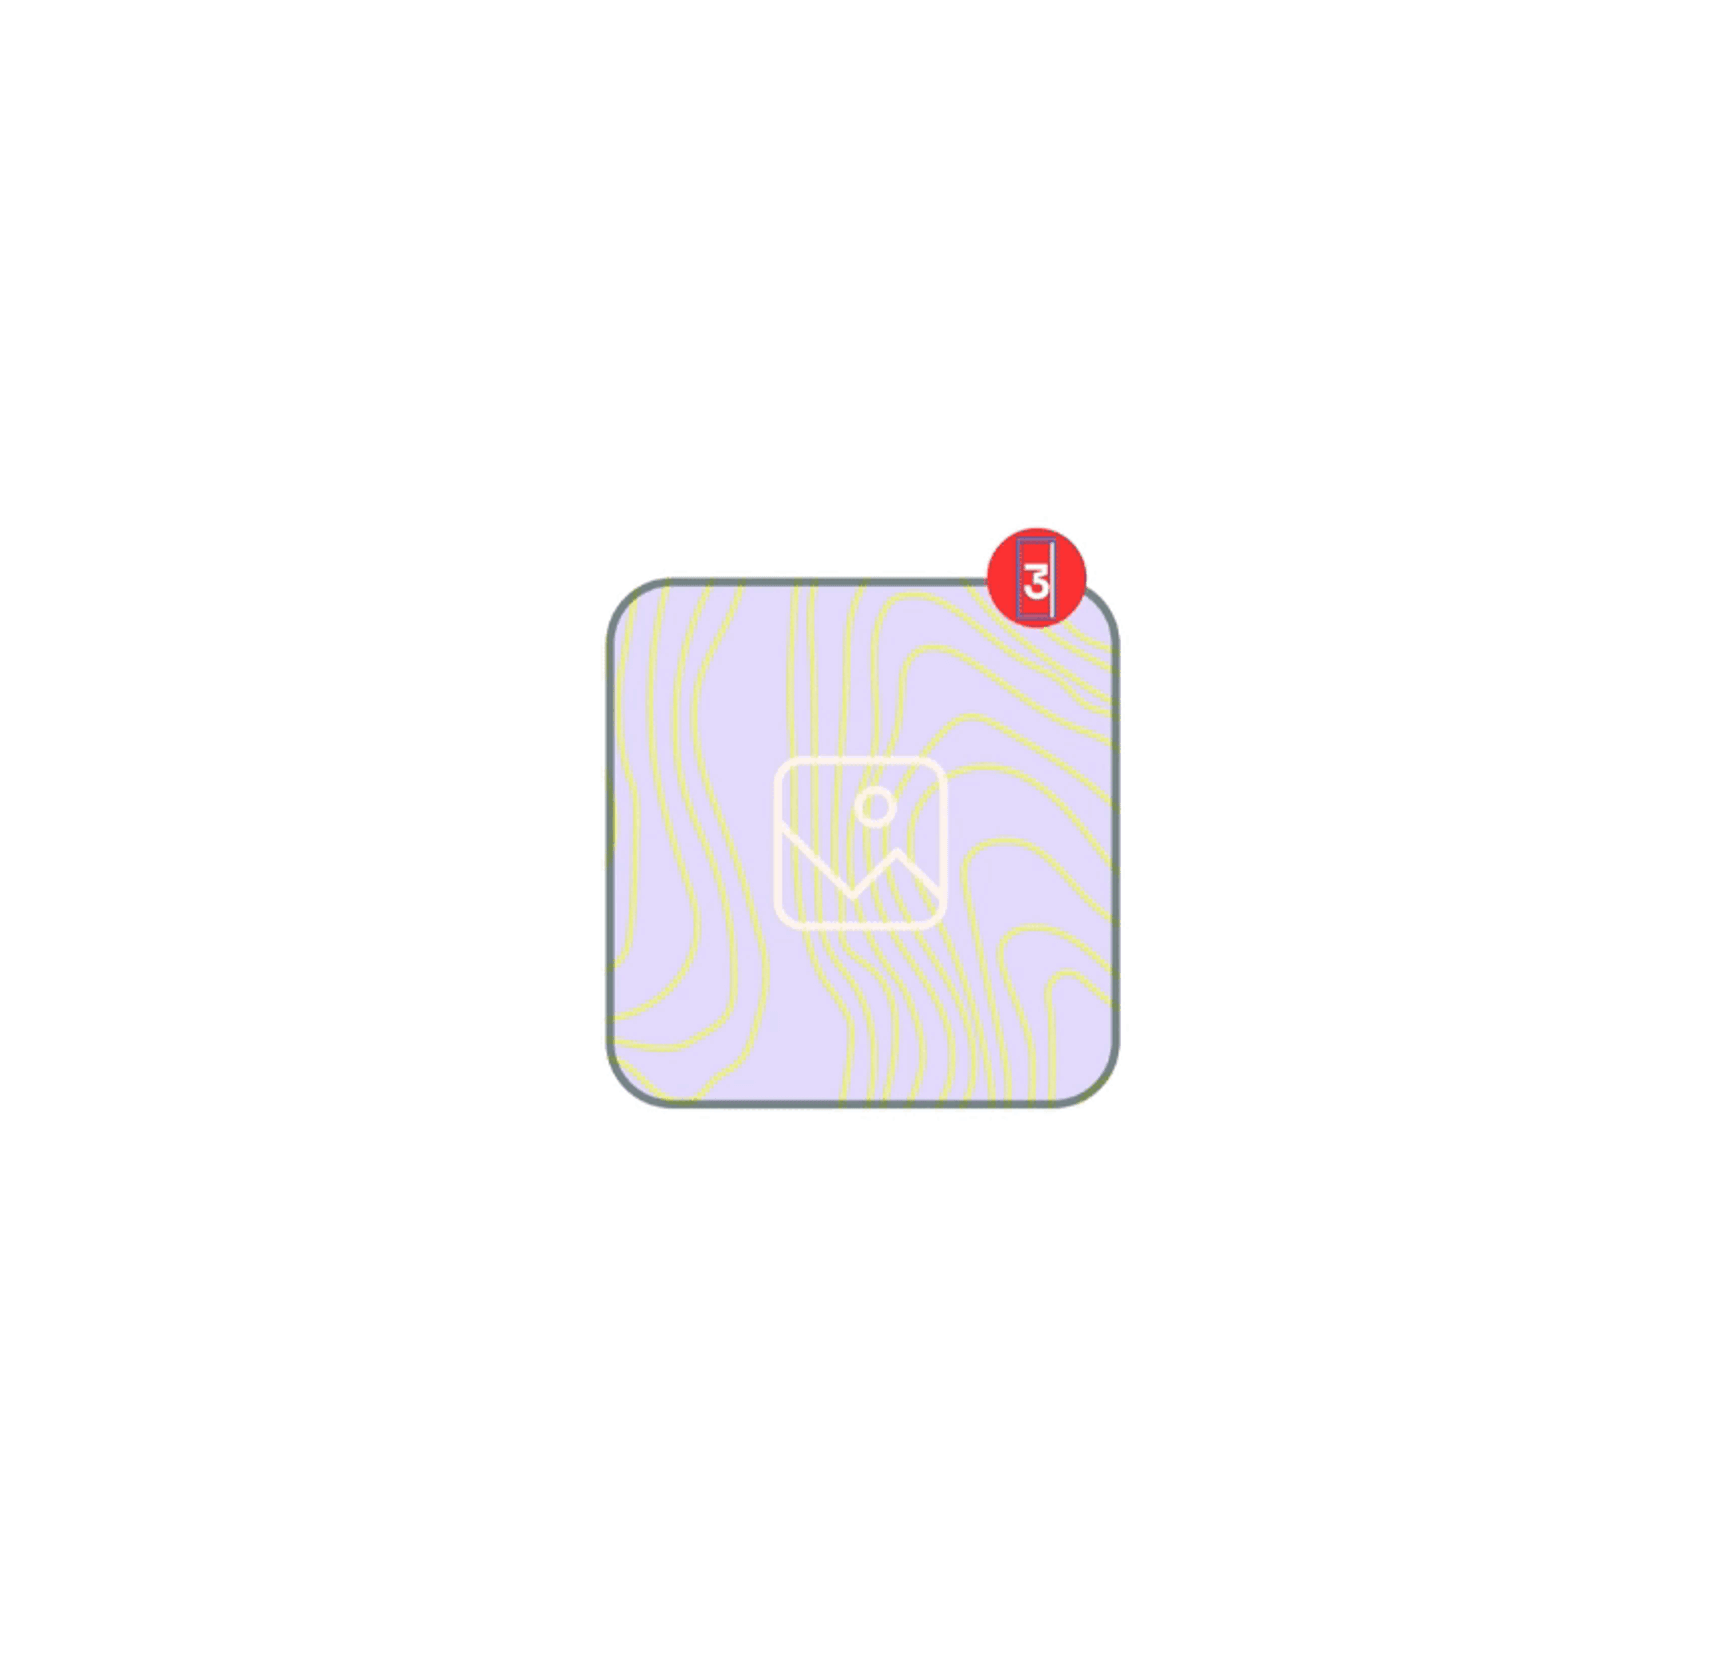
Here’s a short tutorial on setting up those red notification badges that expand nicely as you type.
1. New frame
To start, create a 1:1 (square) frame and give it a fill (like, red).
2. Frame properties
Set these properties on the frame:
- use an even number for the width/height
- rounded corners (exactly 50% of the width/height) — side note: did you know that you can type math into these fields? see below.
- constraints: center + center (to ensure it expands from the center, but you may want a left or right anchor)

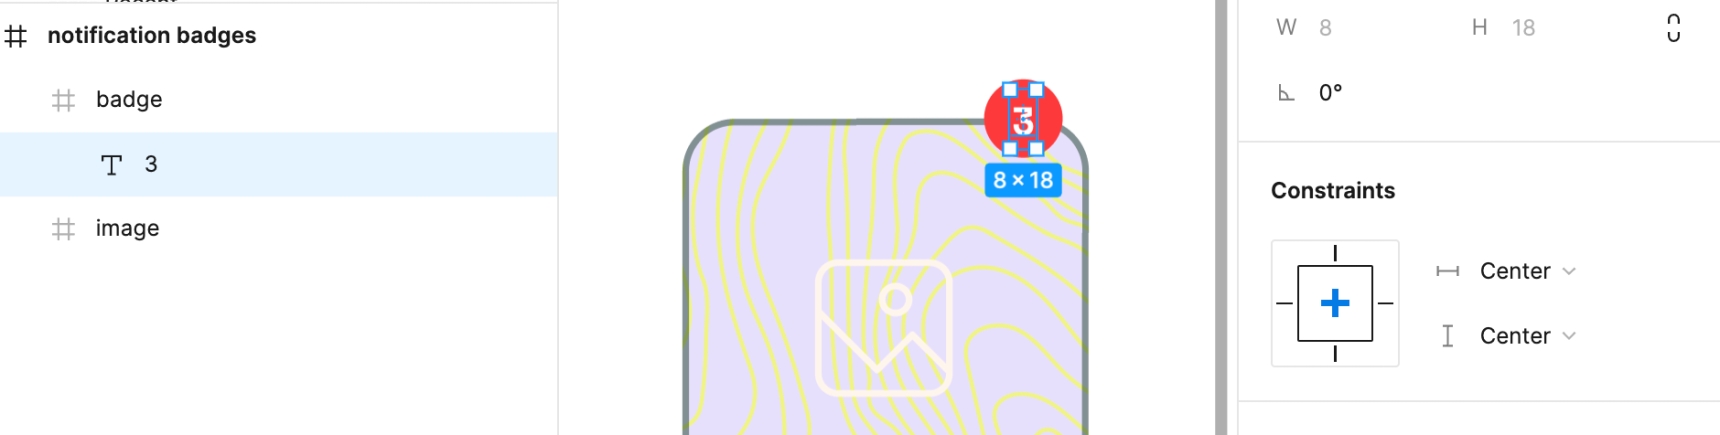
3. Add text
Add a text layer with a number in it. The widest numbers always make the best starting point (like 3, 8, or 0) especially if you aren’t using a fixed-width font.
4. Set text properties
Set these properties on the text:
- align it centered horizontally and vertically within the frame (and it’ll automatically set the constraints to be center + center, which is what you want)
- ensure the text layer is a child of the badge frame
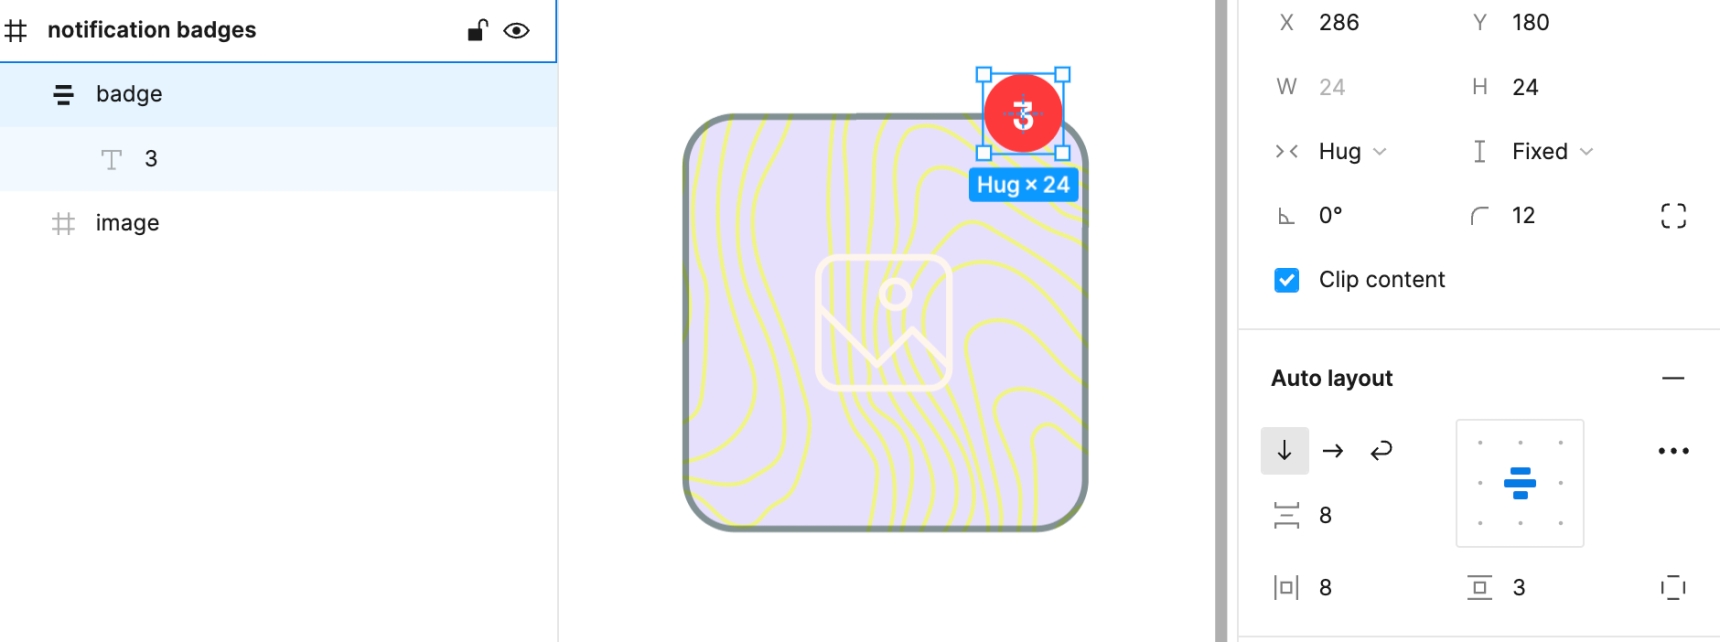
5. Add auto-layout
Select the badge layer and add auto-layout to it
- if needed, make adjustments to the padding so that it’s still a perfect circle
- set the vertical height to be Fixed, but leave the width as Hug
6. Test
Type numbers like you’ve just been texted by everyone you know!
This is useful for mockups where you want to determine exactly how these badges will look with larger numbers and whether or not they’ll still fit nicely on the screen.